Rudolf, the red-nose reindeer
Had a very shiny nose
And if you ever saw it
You would even say it glows
All of the other reindeers
Used to laugh and call him names
They never let poor Rudolph
Join in any reindeer games
Poor Rudolph, literally excluded from the group because he was different from (and so much cuter than!) the rest. Absolutely not a legit reason to be ostracised!
Then one foggy Christmas Eve
Santa came to say
Rudolph with your nose so bright
Won't you guide my sleigh tonight?
Then how the reindeers loved him
As the shouted out with glee
Rudolph the red-nose reindeer
You'll go down in history!
They don't seem to be very pleasant reindeers, only cordial when they realised Rudolph had some level of importance. Orbiquek to them, I'd say. However, Rudolph being as good-natured as he was adorable, welcomed the new friendship with open antlers. I adore his virtuously forgiving nature, so chin chai and amiable.
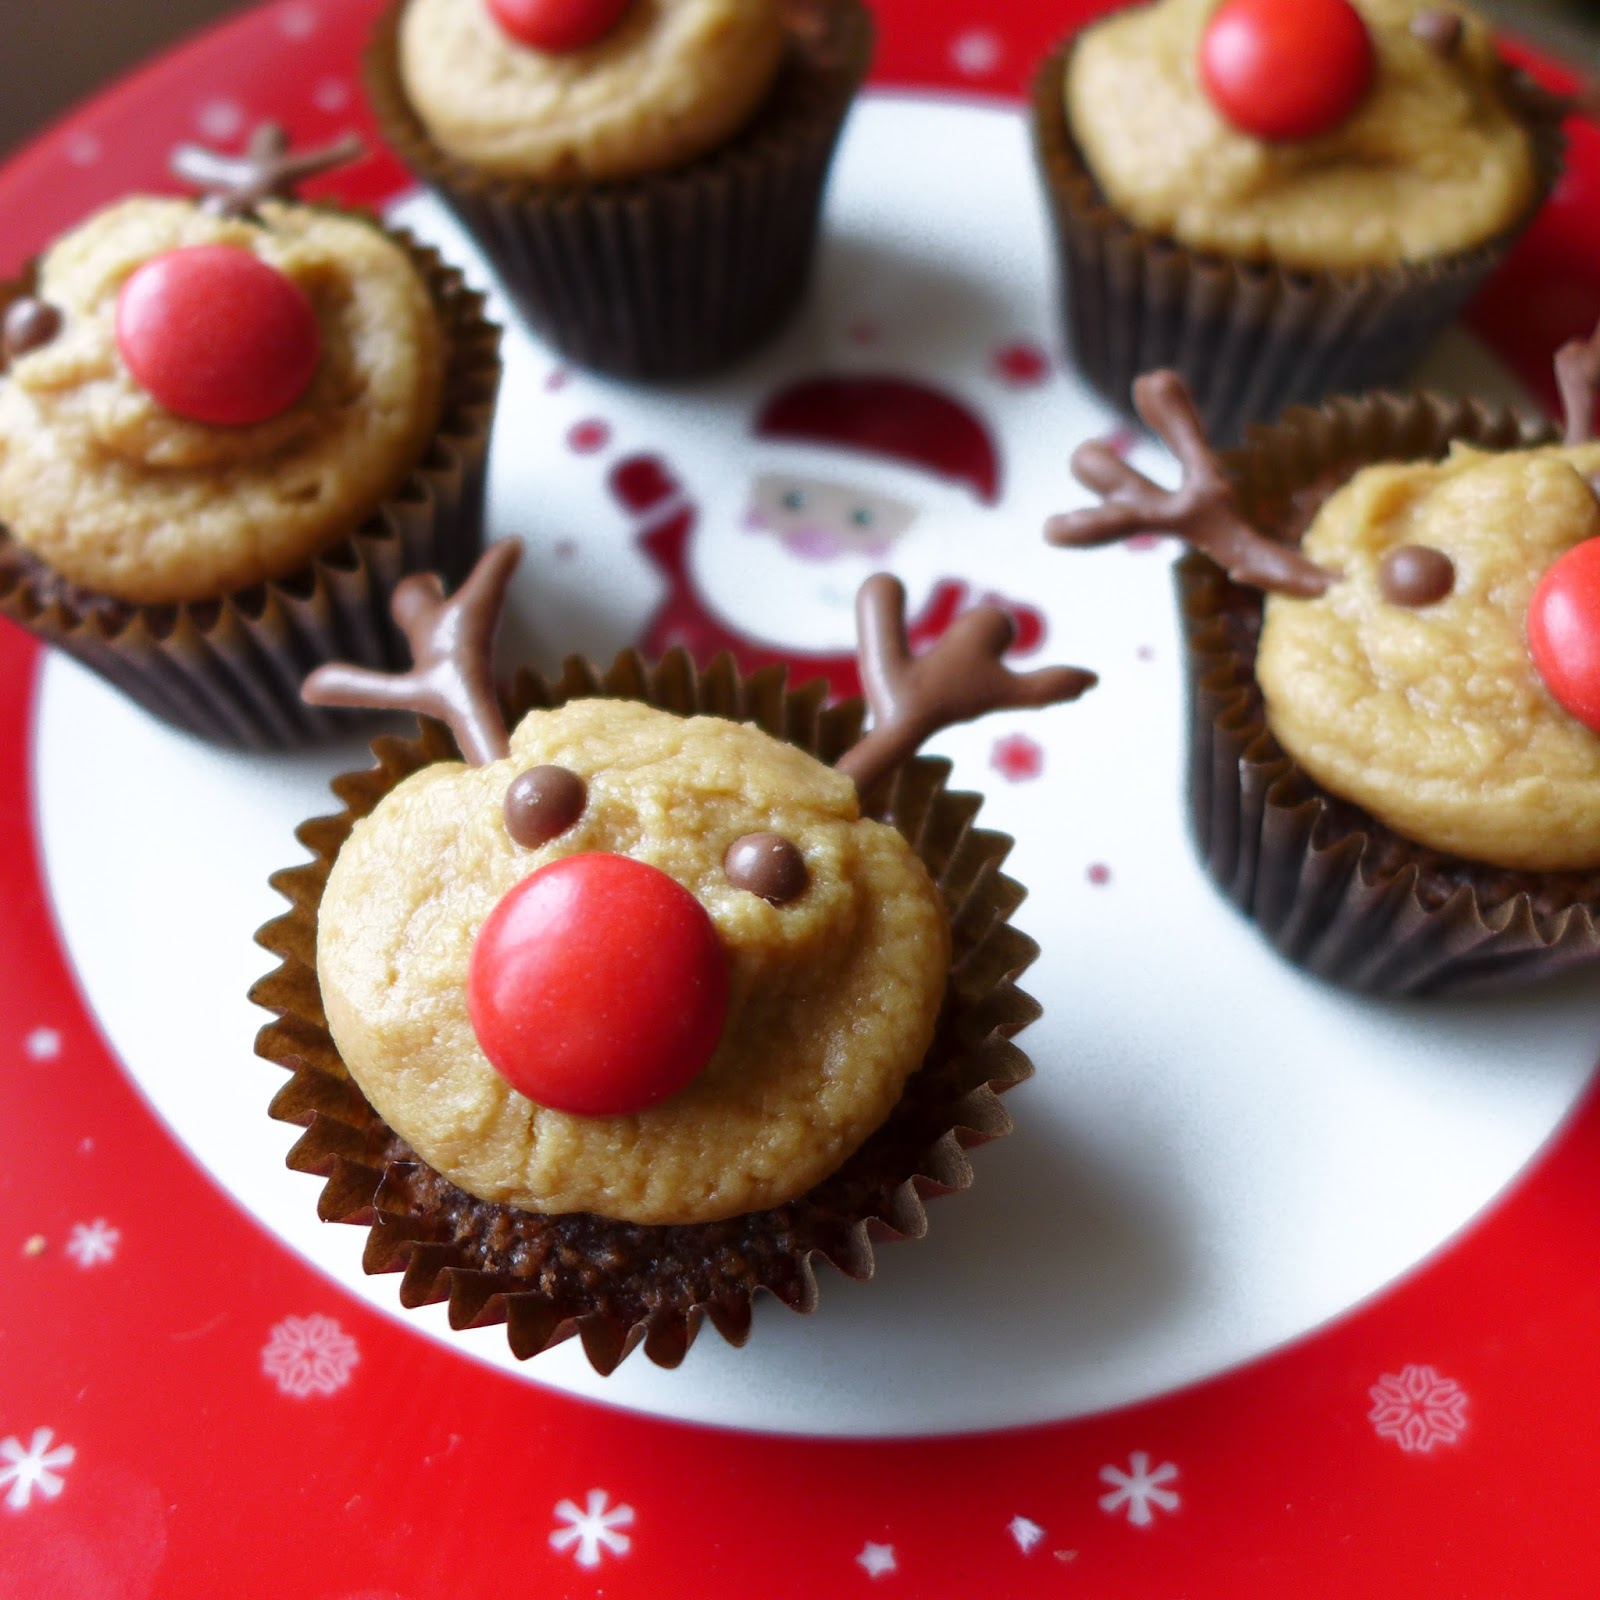
In celebration of the Christmas season and our red-nosed friend, I made Rudolph a dozen others just like him!
These are piped chocolate eyes and antlers. They hardened very quickly on this cold, freezing day.
You definitely made history, Rudolph!
Chocolate cupcakes
What?
- 1 cup sugar
- 1 cup plain flour
- 1/2 cup cocoa powder
- 1 1/2 tsp baking powder
- 1/2 tsp salt
- 1 egg
- 1/2 cup milk
- 1/4 cup olive oil
- 1 1/2 tsp vanilla extract
- 1/2 cup hot water
How?
- Stir the sugar, flour, cocoa powder, baking powder and salt together.
- Add in egg, milk, oil and vanilla extract and mix until incorporated.
- Pour in the hot water and stir until an even consistency is achieved. The batter will be very thin.
- Line muffin tins with paper liners and fill the liners with the batter to about 3/4 full.
- Bake the cupcakes at 180 degC for about 20 minutes.
- Cool completely on a wire rack before frosting.
To make Rudolph...
What?
- Writing milk/dark chocolate
- Parchment paper
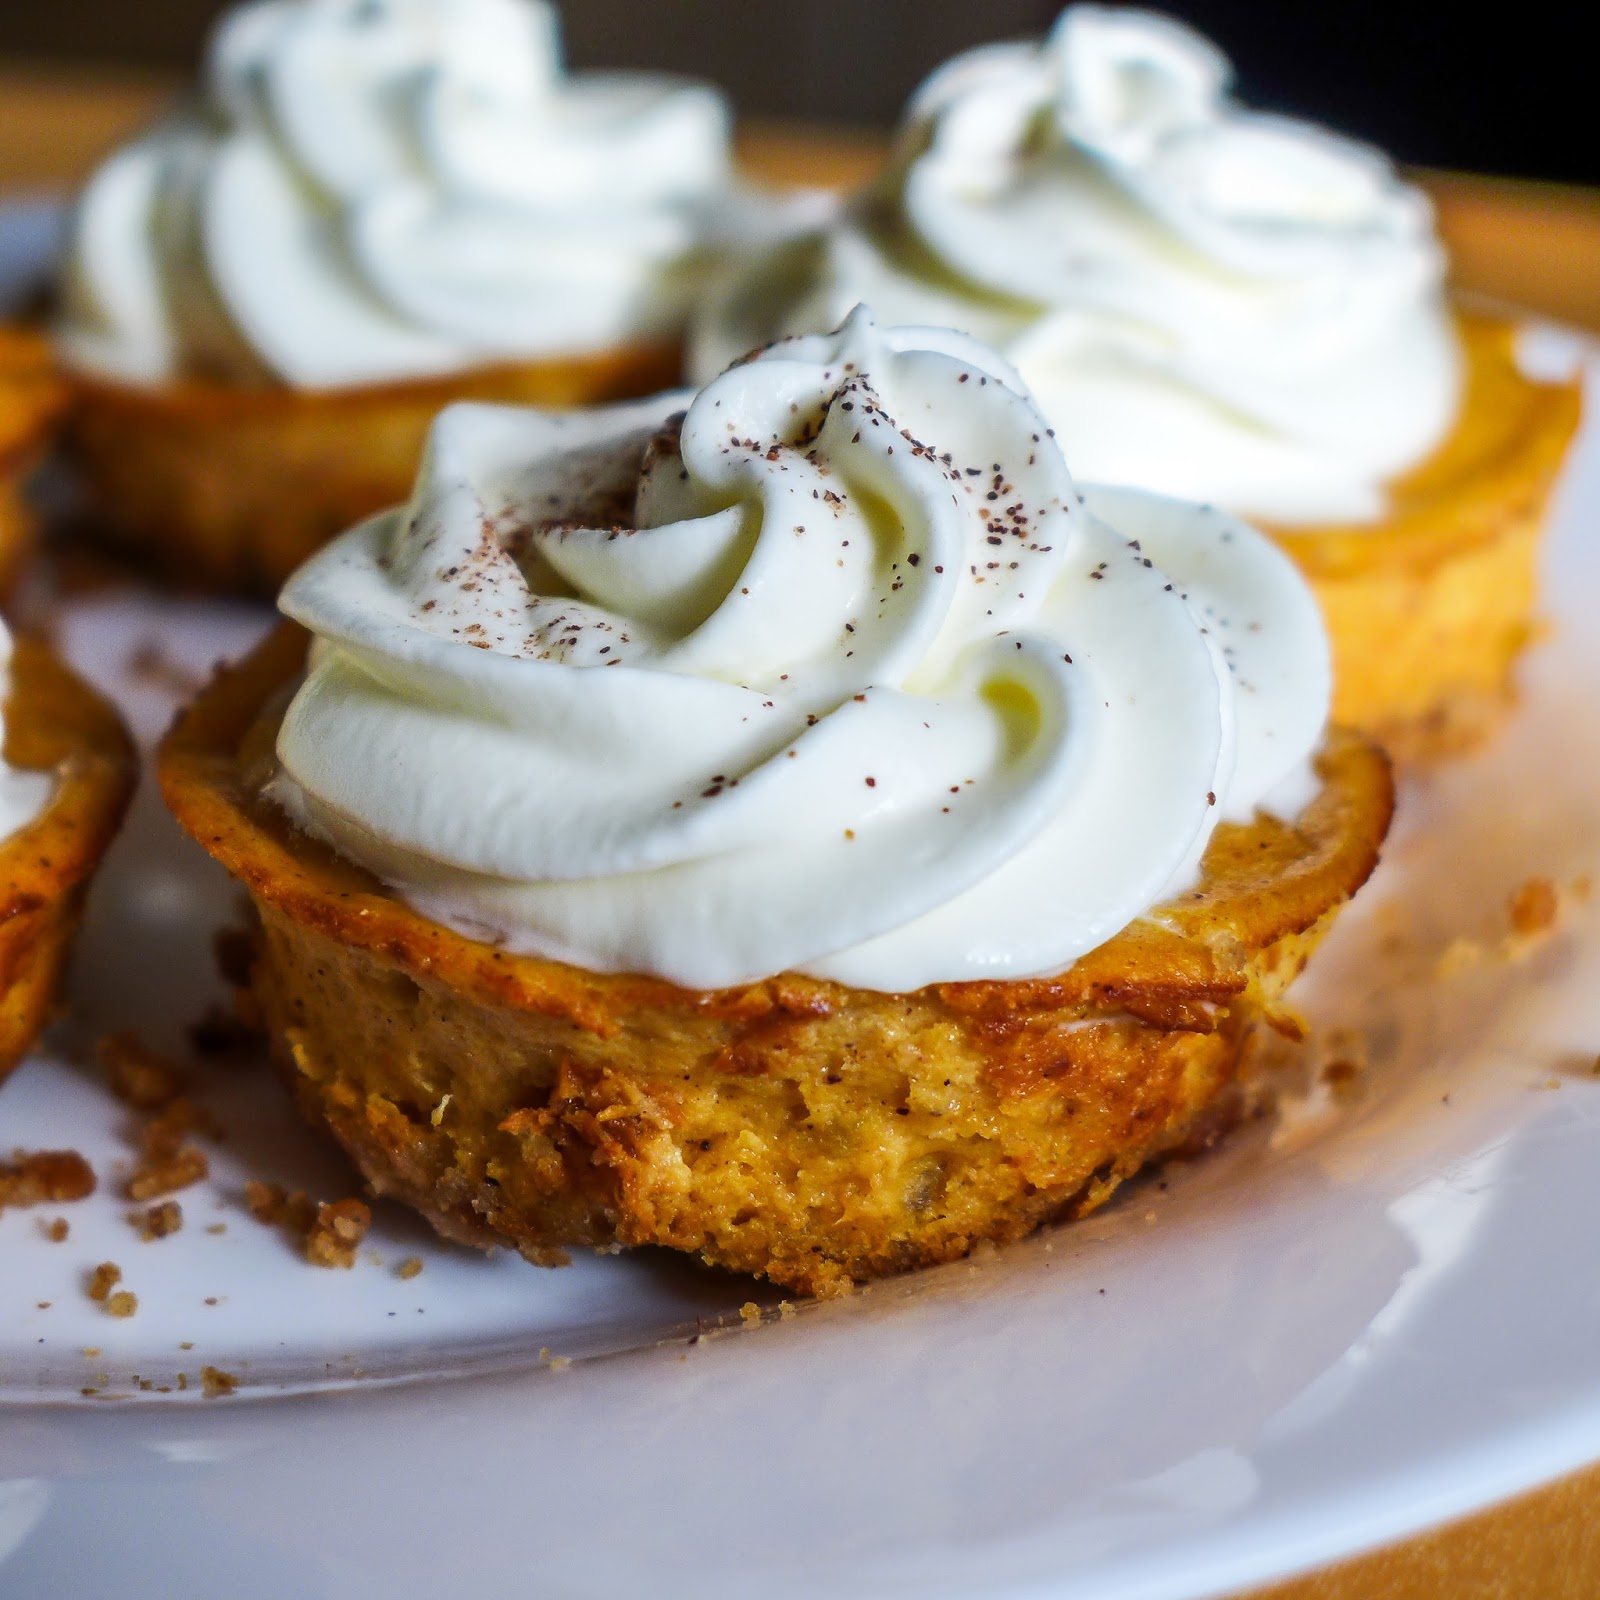
- Coffee buttercream
- Piping bag
- Red chocolate buttons (I used red M&Ms)
How?
- Melt the chocolate according to the instructions on the tube and pipe out eyes and antlers for the reindeers onto parchment paper. Leave to harden.
- Prepare the coffee buttercream (click link for the recipe!) and put it into the piping bag. Snip off the end of the bag and pipe the buttercream onto the cupcake in a circular manner until almost the entire cupcake is covered.
- Use a red chocolate button as the nose and place it in position on top of the buttercream.
- Add in the chocolate eyes and antlers for the reindeer.